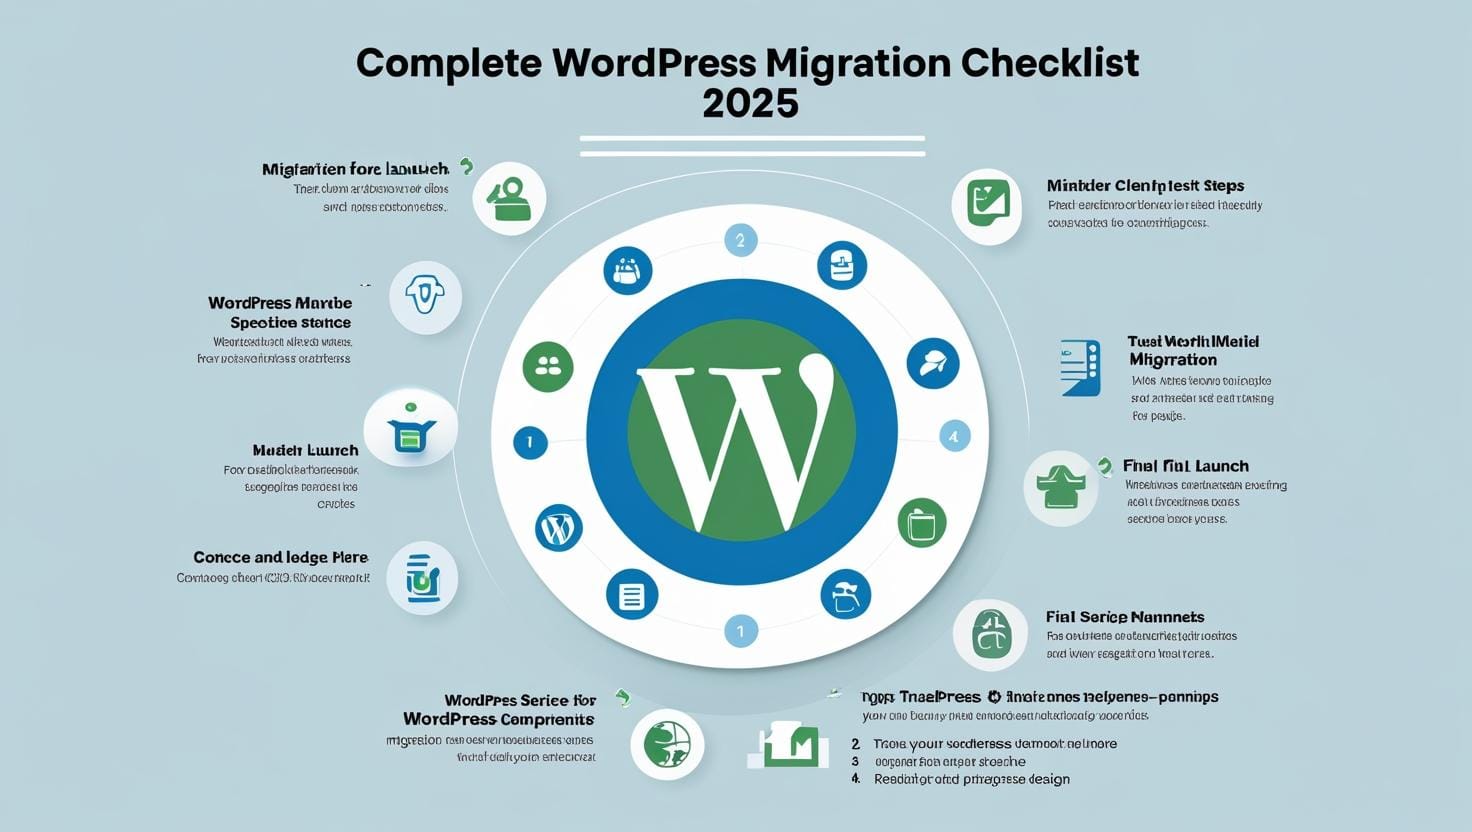
Migrating a WordPress site can seem like a big challenge, but it doesn't have to be. Here are ways to do it easily and safely:
- Site preparation: backup, migration planning, and thorough testing.
- Transfer with confidence: data transfer, URL updates, and website security.
- Completion: testing functionality, maintaining SEO, and monitoring performance.
With this guide, you'll seamlessly move your website to WordPress, keeping data secure, SEO rankings intact, and downtime to a minimum.
What is WordPress Migration?;
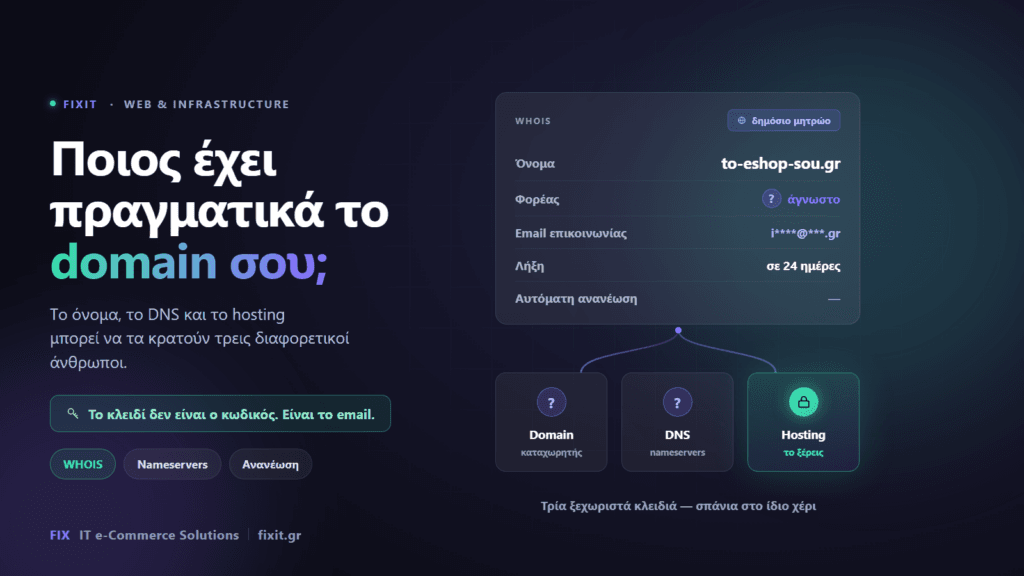
WordPress migration is the process of moving a WordPress website from one hosting environment to another. This could include switching to a new hosting provider, changing domain names, or even merging websites.
The migration process is highly technical because WordPress websites rely on two main components: a database (which stores all content, users, and configurations) and a set of basic files (which determine the appearance and functionality of the website). Each component must be carefully transferred and reconfigured to work in the new environment.
Common types of WordPress migrations include:
- Hosting provider migration : Move the website to a faster, more reliable host.
- Change domain : Changing the website URL for branding or business purposes.
- Website restructuring : Consolidate multiple WordPress installations into one unified website.
Without careful preparation, you risk losing data, breaking your website, or hurting your SEO rankings.
Checklist before WordPress migration
1. Choosing a Reliable Web Host
The foundation of a successful migration starts with choosing the right hosting provider. A reliable host ensures better website performance, faster loading times, and responsive technical support.
What should be considered when choosing a host? You should:
- Look for providers that offer high-speed servers and scalable resources.
- Ensuring 24/7 support through multiple channels (live chat, email, phone).
- Look for features like automatic backups, SSL certificates, and one-click WordPress installation.
- Compare pricing plans and choose the one that fits your budget without compromising on quality.
Some popular WordPress hosting providers are SiteGround, Bluehost, Kinsta, Cloudways, and Fixit.
2. Design carefully
A solid plan helps reduce the chances of unexpected downtime or errors during the migration, and here are the key elements for planning:
- Scheduling the migration during off-peak hours to minimize disruption to users.
- If applicable, coordinate with the team to ensure everyone is aligned with their responsibilities.
- Break down the transition into smaller tasks and set clear deadlines for each stage.
3. Perform pre-immigration screening
Before migrating your website to WordPress, a thorough audit should be performed to identify potential issues and understand the scope of the migration. Here are some key steps that are necessary to conduct an effective audit:
- Identify outdated or unnecessary content that can be cleaned up.
- Checking compatibility with the new hosting environment and removing unused or incompatible add-ons.
- Using tools like Screaming Frog to identify broken links, redirect chains, and orphaned pages.
4. Backing up your WordPress website
The importance of backup should not be overlooked. If something goes wrong, a backup allows the website to be restored to its original state.
Here are the methods to create website backups:
- Use plugins like UpdraftPlus or BackupBuddy to make the backup process simple and efficient.
- Gain access to your hosting account's cPanel or FileZilla to manually download the files and database.
- Store backups in secure locations like Google Drive or Dropbox.
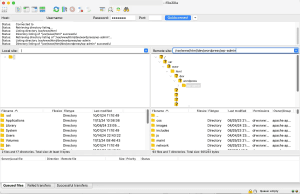
Using FileZilla to Back Up WordPress
Related reading: Best Practices for WordPress Backup and Website Restoration
5. Activating maintenance mode
Putting your site into maintenance mode prevents users from accessing it during the migration process. This ensures a seamless experience for visitors and avoids exposing them to incomplete or corrupted content.
One can use plugins like SeedProd to enable a custom maintenance page. After that, notify the public with a message about the expected downtime and when the site will be back online.
6. Disabling caching, security, and redirect plugins
Caching, security, and failover add-ons can interfere with the migration process by adding unnecessary complexity to the transfer.
But why is this important?;
- Caching plugins may store old versions of the site that conflict with the new environment.
- Security plugins can block legitimate attempts to access files or databases during migration.
- Redirect plugins are used if existing redirects may conflict with new URLs or structures.
Setting Up the New Environment
7. Installing WordPress on the new domain
Before the site migration can take place, WordPress will need to be installed on the new hosting account or domain. Many hosting providers, such as SiteGround or Bluehost, offer one-click WordPress installation through their dashboards.
WordPress.org to download and install the latest version
If the host does not provide one-click tools, one can download the WordPress package from wordpress.org, upload it to the server via FTP and run the installation script.
8. Creating a new database
The content and configuration of your WordPress site are stored in its database, which is why creating a new database on your new hosting account is essential for the migration process.
Here are the steps to create a new database:
- Log in to your hosting account control panel (e.g. cPanel or Plesk).
- Go to the MySQL Databases or Database Management section.
- Creating a new database.
- Add a new database user, assign a strong password, and grant the user full permissions to the database.
9. Exporting the existing WordPress database
Exporting the current database will ensure that all content, settings, and configurations are transferred to the new hosting environment.
Here are the steps to export the database:
- Go to your hosting account control panel and open phpMyAdmin.
- Select the WordPress database from the list on the left side.
- Click on the Export tab.
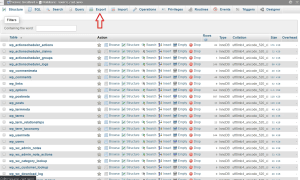
- Select Quick Export and select the SQL format.
- Download the database file and save it in a safe location.
10. Transferring website and database files
With the new database ready and the old database exported, it's time to transfer the website files and data to the new environment.
To transfer website files:
- An FTP client like FileZilla to connect to the old server and download the WordPress files (wp-content, themes, plugins, etc.).
- Upload these files to the root directory of the new hosting account.
To import the database:
- Open phpMyAdmin on the new host.
- Select the new database and click the Import tab.
- Transform the SQL file and click the Go button to import it.
To update the WordPress configuration file:
- Open the wp-config.php file on the new hosting account.
- Update the database name, username, and password to match the new database credentials.
Checklist after WordPress migration
11. Updating permanent links and URLs
After the migration, your site's permalinks and URLs will need to be updated to match the new environment. Here are the steps to update your permalinks:
- Log in to the WordPress dashboard on the new host.
- Go to Settings > Permalinks and click Save Changes to recreate the .htaccess file.
12. Assigning SSL certificates
An SSL certificate ensures that the website is secure and displays the HTTPS prefix in the browser.
- Check if the hosting provider offers free SSL certificates (e.g. Let's Encrypt).
- Install the SSL certificate through the hosting control panel.
- Using plugins like Really Simple SSL to automatically configure your WordPress site to use HTTPS.
13. Redirects and URL structure
Maintaining a consistent URL structure is vital to maintaining a website's SEO and ensuring that users can access content without encountering broken links.
- Using a tool like Redirect to set up 301 redirects for old URLs pointing to new ones.
- Test the redirects using the browser.
- Ensure that all internal links are updated to reflect the new URL structure.
14. Detecting the new website
Crawling the new site helps identify any issues that may have arisen during the migration, such as broken links, missing images, or unindexed pages.
There are many tools that can help with this, some of them are Screaming Frog, Ahrefs or SEMRush to perform a website crawl. These tools can check:
- Broken links (404 errors).
- Missing metadata (titles and descriptions).
- Orphan pages (pages without internal links pointing to them).
15. Testing the functionality of the website
When testing a website, it is essential to focus on two key areas: frontend and backend functionality.
For frontend functionality:
- Forms, buttons and navigation menus.
- Embedded media such as videos and images.
For support functionality:
- Theme additions and settings.
- Admin dashboard functions, such as creating posts and pages.
16. Verifying website speed and performance
Website speed is a really critical factor for user experience and SEO. After the migration, it is essential to test and optimize the website performance.
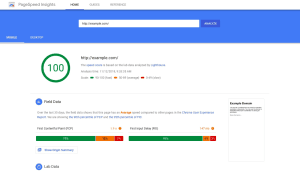
PageSpeed Insights from Google
Tools like Google PageSpeed Insights, GTmetrix, or Pingdom can be used to measure load times. With these tools, performance bottlenecks such as large images, unnecessary plugins, or unoptimized code can be identified and fixed.
17. Updating DNS records
The website will not go live on the new host until the DNS records are updated to point to the new server. Here are the steps to update the DNS:
- Log in to your domain registrar account (e.g. GoDaddy, Namecheap).
- Go to the DNS Management section.
- Replace the existing nameservers with those provided by the new hosting provider (e.g. ns1.newhost.com and ns2.newhost.com).
- Save changes and wait 24 – 48 hours for DNS propagation.
WordPress SEO and Analytics after migration
18. Comparison of Google Analytics and Search Console
Reconfiguring Google Analytics and Search Console is necessary to monitor website performance on the new host or domain.
Steps to update Google Analytics:
- Login to your Google Analytics account.
- Update ownership settings to reflect the new domain (if applicable).
- Verify that tracking scripts are installed correctly on the migrated site using the Tag Assistant browser extension.
Steps to update Google Search Console:
- Sign in to your Search Console account.
- Add the new domain as a separate property.
- Submit the updated sitemap to Sitemaps.
- Using the URL Inspection Tool to create an index for key pages.
These updates ensure that Google recognizes the new site setup and continues to accurately track traffic and performance.
19. Add 301 redirects to maintain SEO
Setting up 301 redirects is a crucial step during a WordPress migration. Redirects ensure that both users and search engines are seamlessly directed to the correct pages on the new site. This not only prevents broken links, but also helps maintain SEO rankings by transferring the same link value from the old URLs to the new ones.
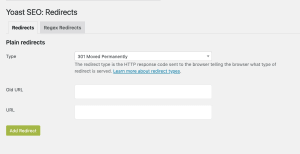
Premium Yoast SEO 301 redirect wordpress.org
How to set up 301 redirects effectively:
- Create a redirect map listing all the old URLs and their corresponding new URLs.
- Using a plugin like Redirection or manually redirecting in the .htaccess file. Example syntax: 301 Redirect /old-page-url /new-page-url
- Test redirects using tools like Redirect Checker or by manually visiting old URLs in the browser.
20. Tracking search rankings and traffic
It is normal for there to be slight fluctuations in ranking immediately after relocation, but these metrics should be monitored to ensure stability over time.
- Use tools like Ahrefs, SEMRush, or Google Search Console to monitor changes in keyword positions.
- Compare traffic data before and after migration in Google Analytics to identify any significant decreases.
- Ensuring that key conversion metrics, such as form submissions or purchases, remain consistent.
21. Resubmit the sitemap
To ensure that search engines index the migrated website correctly, a sitemap should be submitted. Here are the basic steps for submitting a sitemap:
- Creating a new sitemap using an SEO plugin like Yoast SEO or Rank Math.
- Log in to Google Search Console and go to the Sitemaps section.
- Enter the sitemap URL (e.g. https://yourdomain.com/sitemap_index.xml) and click Submit.
This step helps Google and other search engines discover pages faster, improving the visibility of the site.
22. Perform an SEO audit
After the migration, a SEO audit to identify and fix any remaining issues that could be hurting the performance of the site. But what are the key areas to focus on?;
Key areas to be checked during the audit:
- Broken links
- Metadata
- Duplicate content
- Structured data
Seamless migration to WordPress!
The fixit.gr can securely transfer data to unlock more growth on the new platform.
Troubleshooting common WordPress migration problems
23. Scan for broken links and orphaned pages
Broken links and orphaned pages can negatively impact user experience and SEO. After migration, it's important to identify and fix these issues.
There are tools like Screaming Frog, Ahrefs, or Broken Link Checker to scan your website for 404 errors. For each broken link, either:
- Updated the link to point to the correct URL.
- Create a 301 redirect to the appropriate page.
24. Re-enable caching and security plugins
After the migration is complete and the site functionality has been verified, it's time to re-enable caching and security plugins.
After these plugins are re-enabled, the website should be tested to ensure that they do not interfere with any functionality.
25. Deactivating the old hosting account
Once it is verified that the migrated website is working flawlessly, the old hosting account can be safely deactivated.
27. Monitoring the website after migration
Even after the migration is complete, it’s essential to monitor your website’s performance and SEO in the coming weeks. Proactive website monitoring allows you to quickly address any issues and ensures a smooth transition for your visitors.
This troubleshooting and final steps checklist ensures that the migration process is fully completed, with all technical issues resolved and the site running smoothly.
One can consult its experienced developers Fixit.gr, to ensure a smooth transition of the website to the new hosting provider and that it continues to operate without interruption. Users and e-commerce store owners can now focus on other areas of the business.